Wednesday, June 30, 2010

Southernmost Point - Key West

My pictures from our Key West trip went well with the layout sketch over at PK Glitz so I had to try it out. I also tried something new for me - that background is a little bit more on the wild side per my usual - by matching up with the marker in the pictures! So that I didn't cover up too much of the background, I used a transparency sheet embossed with the cuttlebug circles folder under my photos. My journaling square turned into a triangle that also matches the marker. It was a fun page to make...hope you enjoy!

Here's the sketch:


Here's my take:


DETAILS:
Paper - Solids (Martha Stewart, DCWV)
Stamps - Alphabet (Hampton Arts), Flower (Studio G), Ink (Colorbox), Embossing Powder (Stampendous), Journaling lines (Waltzingmouse Stamps)

Tuesday, June 29, 2010

First 5K

My page for the Scrap Our Stash challenges is up! This page fits in with the June challenge - Stitching (an entry is due by tomorrow if you still want to participate!) and the Sketch #2 challenge (this one is due by July 15!).

There's lots of stitching going on with this page: the background patterned paper is a series of stitch lines and I stitched all of the red and green panels. The sketch that fellow DT member Robin submitted went perfectly with my photos, which were part of a collage print that I had printed at Walgreens that I just simply cut apart. That tip was part of my Frugal Friday post on the same site and here on this blog.


This page is about my first 5K race back home in Iowa. With working on RunMonster, I've now turned into a runner as I do testing of the various features in the app. I completed the Couch 2 5K program in time to make it for the Symphony of Lights 5K around Thanksgiving. It was DH's first 5K too although it wasn't as big of a challenge for him to run the race, hence why there are photos of me running because he decided to run backwards during some of it. The experience was great fun. We later did the Bay 2 Breakers 12K in May....a layout of that race will be coming soon. :)

Thanks for stopping by!

Monday, June 28, 2010

Christmas 2009

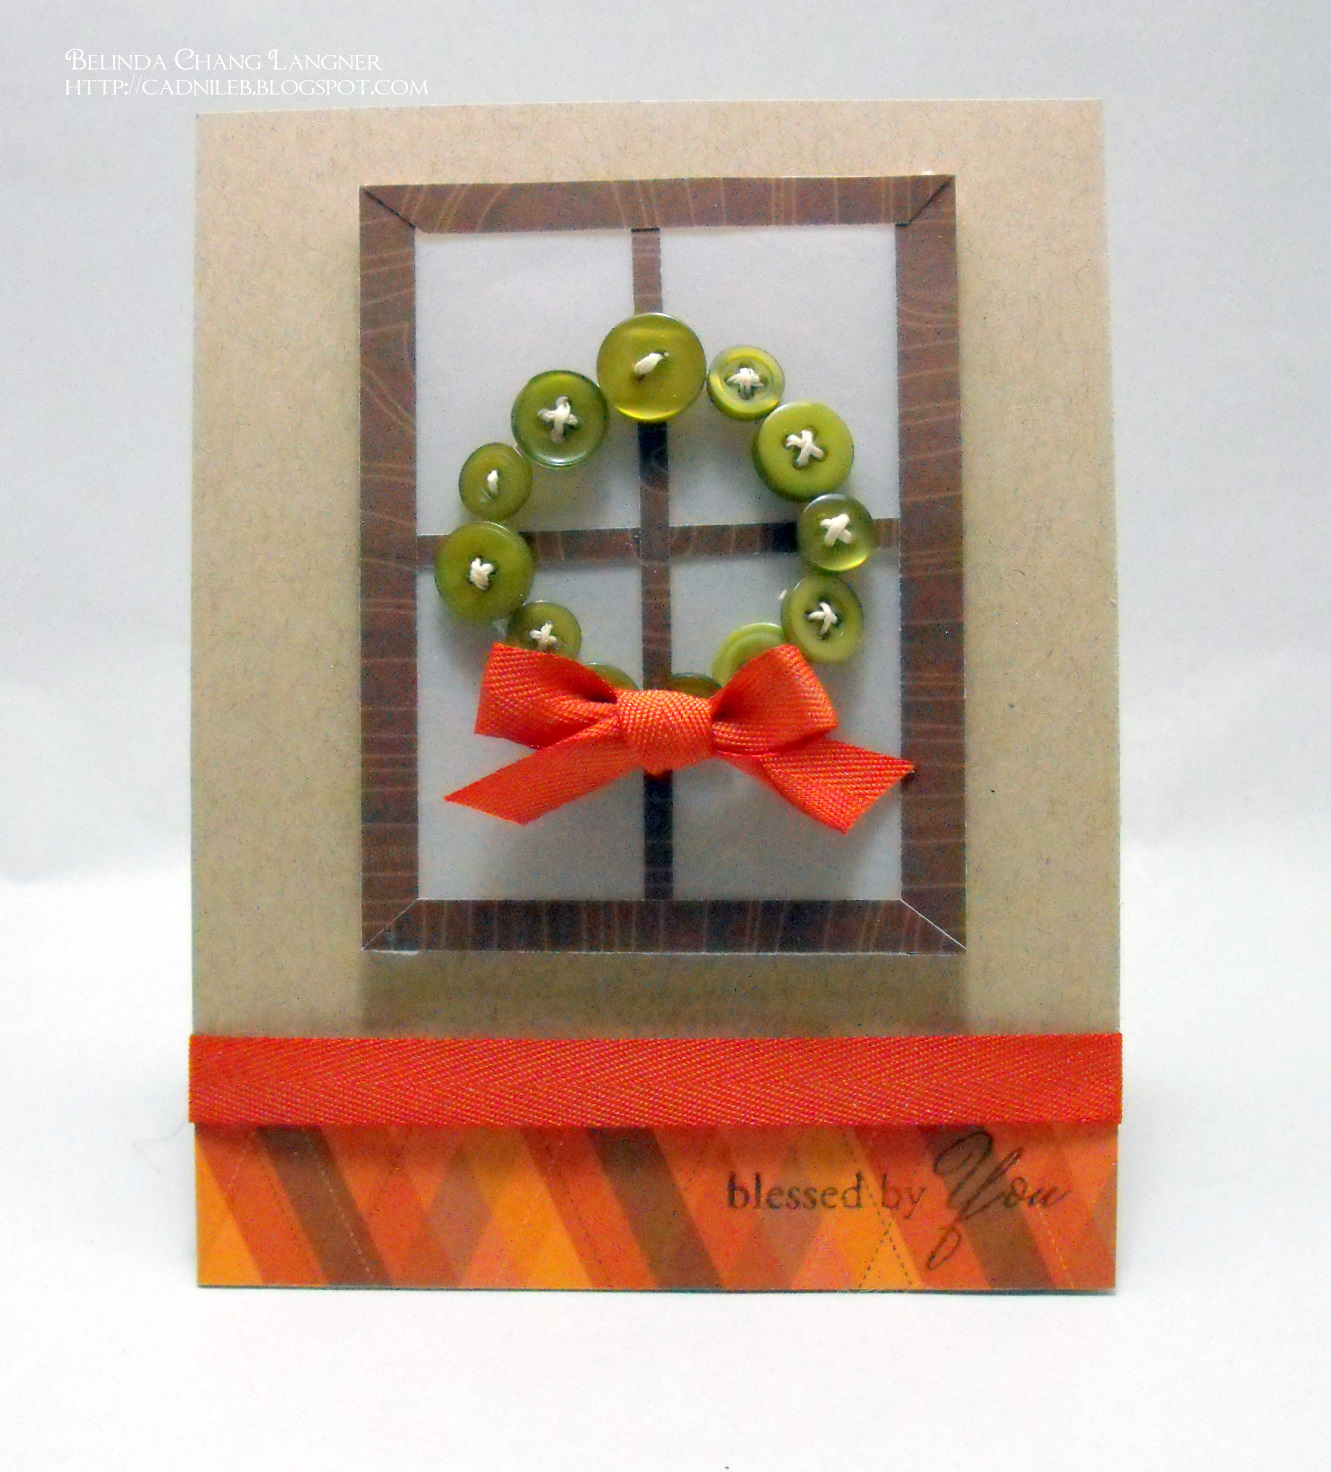
I was inspired to get a Christmas page done when I saw the latest Waltzingmouse Sketch Challenge. I think part of it was also my friend Belinda's little wreath on a window sample too. But anyway, here's the sketch:


And here's my take:


I went back to the first Waltzingmouse Stamps set that I purchased: Sewing Box Christmas with the little holly leaves. My craft desk was littered with the little leaves last night as I turned it into an assembly line of stamping, clear embossing, and cutting. It took until today to really set up the wreath on the paper how I wanted it (which including needing about three more leaves). I decided to add some dimension by popping up a leaf here and there. Buttons in pearl red completed the deal. And what's a wreath without some sort of bow, or in my case a star tag from the Seasons of Love - Tags set!

Thanks for stopping by!

DETAILS:
Paper - Solid (Martha Stewart, Making Memories - Fa La La), Patterned (Making Memories - Fa La La)
Stamps - Holly Leaf (Waltzingmouse Stamps, Sewing Box Christmas), Star Tag (Waltzingmouse Stamps, Seasons of Love - Tags), Ink (Tim Holtz Distress Ink - Pine Needes, Color Box - Black and Maroon, Ranger Watermark Resist), Embossing Powder (A La Mode)

Thursday, June 24, 2010

Frugal Friday Tip - Scrap Our Stash


This week's Frugal Friday Tip for Scrap Our Stash is by me! (since the post is already up on Scrap Our Stash, I decided to move up this post...)


For this Frugal Friday tip, it sometimes pays to pay attention to your junk email, specifically those that offer things for free! It was by doing this that I stumbled upon a Walgreens email that offered a free 8x10 collage print. No strings attached, just a free 8x10. I've since seen that they do the same promotion every few weekends, especially for holidays (one such offer was just last weekend for Father's Day).

Anyway, I've found collage prints to be a fun and easy way to get a variety of picture sizes for a one-page layout with multiple photos. With my series of photos in this post you can see I start off with one of these collage 8x10 prints I had printed of a recent trip to the Hemingway House in Key West, Florida. The process was easy to create the print online: just upload your photos, select collage print, and shuffle the photos around until you get the proportions that you desire. Getting the print can be done in a store or shipped (for a little extra). 


For this particular event, I wanted the picture of my DH and his kitty buddy on the bench as my focal point. I simply shuffled the photos on the store's website until I liked the proportions of the resulting collage layout with a bigger picture of my focal image. The sketch below the print and furthest to the right is one I found that would work for multiple photos of about the same size as I have here. (As a side note: you may have a sketch in mind when you make your collage print or do what I've done here and find a sketch after the fact; either way works!)


My second picture shows all of the photos cut apart. As the photos have whitespace between them you could also leave borders around the photos. 


Finally, my last photo shows the completed page following the sketch and allowing for different photo sizes. I find this is a great way to get out of a rut of only 4x6 photos, which I was currently in. I would trim up the 4x6's but now collage prints already scale the photos to the various sizes for me! 

As another example, here is a layout that merely uses a 5x7 collage print entirely.


Of course, Walgreens (or any other drug/pharmacy store) is for convenience due to the prints being on sale or sometimes free. This tip can easily be done at home with  your desired photo paper size and a photo printer. Just start off with a canvas in Photoshop of the same size as your paper and drop photos in scaled to different sizes. Thanks for letting me share my Frugal Friday tip! :)

Monday, June 21, 2010

Baby Congrats!

When I heard about two friends of mine that were expecting, I instantly came up with some cards that I could send them to celebrate the occasion. I thought that if such big news was being shared, a card was definitely needed. It was also a great excuse to get out my Who's That Girl? - She's Having A Baby set from My Favorite Things. (I got the set cause I found it cheap and I knew I would be needing it someday...this is that first someday!)

I followed the sketch over at Cute Card Thursdays:


Here's my take:


I went to one of my favorite techniques, paper piecing, for this card. I then used the same paper for the two horizontal panels. Using my resist watermark ink, I stamped the "congratulations," one of the sentiments in the set.

Thanks for stopping by!

DETAILS:
Paper - Solids (Wausau Papers, DCWV), Patterned (K&Co)
Stamps - My Favorite Things - She's Having A Baby, Ink (Colorbox, Watermark Resist), Embossing Powder (A La Mode - Black), Colored Pencils
Embellishments - Bling (Studio G)
Technique - Paper piecing, Sketch

Friday, June 18, 2010

Yet another guy card

I'm kinda having fun making guy cards right now, so I decided to make one more. :) I went in search of a sketch, of course. Having a good sketch is the best starting block I need when creating a card. The sketch I found was the one over at P K Glitz for their guest designer challenge.

Here's the sketch:


Here's my take:


One requirement of the challenge was to use glitter/embossing powder. I decided I would try out my glittery Stampendous embossing powder in royal blue. I teamed that up with Waltzingmouse Stamps Off Beat Backgrounds, the zig zag stamp. I also used the polka dot pattern in the same stamp set. And finally, continuing from my card yesterday I took some more chipboard stars and recovered (they had started out pink), distressed, and made them into buttons with a little twine.

Thanks for stopping by!

DETAILS:
Paper - Solids (Wausau Papers), Patterned (Karen Foster)
Stamps - ZigZag/Polka Dot Stamps (Waltzingmouse Stamps - Off Beat Backgrounds), Watermark Ink (Ranger), Royal Blue Glitter Embossing Powder (Stampendous)
Embellishments - Chipboard Stars (Stash), Twine (Stash)

Thursday, June 17, 2010

Waltzingmouse Stamps June Waltz - Guy Cards


Happy WMS Waltz Day! It's the 17th of the month so another waltz is underway at Waltzingmouse Stamps! This month's theme piggy backs on that holiday coming up this weekend, Father's Day. Cards on the waltz celebrate the guys in our lives.

Masculine cards are not always easy to come up with, but Claire has greatly helped the card making community with her Free Spirit stamp sets (sets I still need to get!) and fun plaid patterns in her Off Beat Background and Pic Nic Patterns set. Off Beat Backgrounds was my stamp set of choice in the cards I have to share today. Of course right after this blog post I need to get these little guys in the mail so they even have a chance of getting there at a reasonable, if only slightly late timeframe.

CARD 1:


I did this card last weekend to be on top of my game (why I didn't then take a picture and get it in the mail, I'll never know). Making a plaid pattern with the smaller plaid set was my go-to stamp of choice. This card is the first time I've tried out the plaid, so forgive a few crooked patterns in there. :) The process was quite fun and I know I'll be trying it again soon. Finishing off the card I used a Vintage Labels #1 border stamp and had just the right letters in my stash with these metal coins to spell "father." A little bit of ribbon tucked in opposite sides and the card was complete!

CARD 2:

This one was finished last night. No plaid here, but Off Beat Backgrounds grid lines (engineering paper! and the reason I got this set...hee hee) and faux stitching stamps were itching to be used. I got a little bit of inspiration from a new blog I found Sketches! by {tamara}.

Here's the sketch:


Here's my take:


I'm in the mood for distressing lately so this sketch followed my mood exactly. I found the "Happy Father's Day" sticker in my stash right away and knew it would fit in perfectly. The grid lines are stamped with my watermark ink pad (love that technique!) and then brown stitches complete the frame. A little twine and a chipboard star that started its life pink is now a rough distressed orange with a little paper coverup. :)


With that, I thank you for keeping up with my long post...I just got so excited to show you both when it came down to it. And I do love Waltz Days! Be sure to check out Claire's post with more information on how to participate and win great WMS stamps!

Thanks for stopping by!